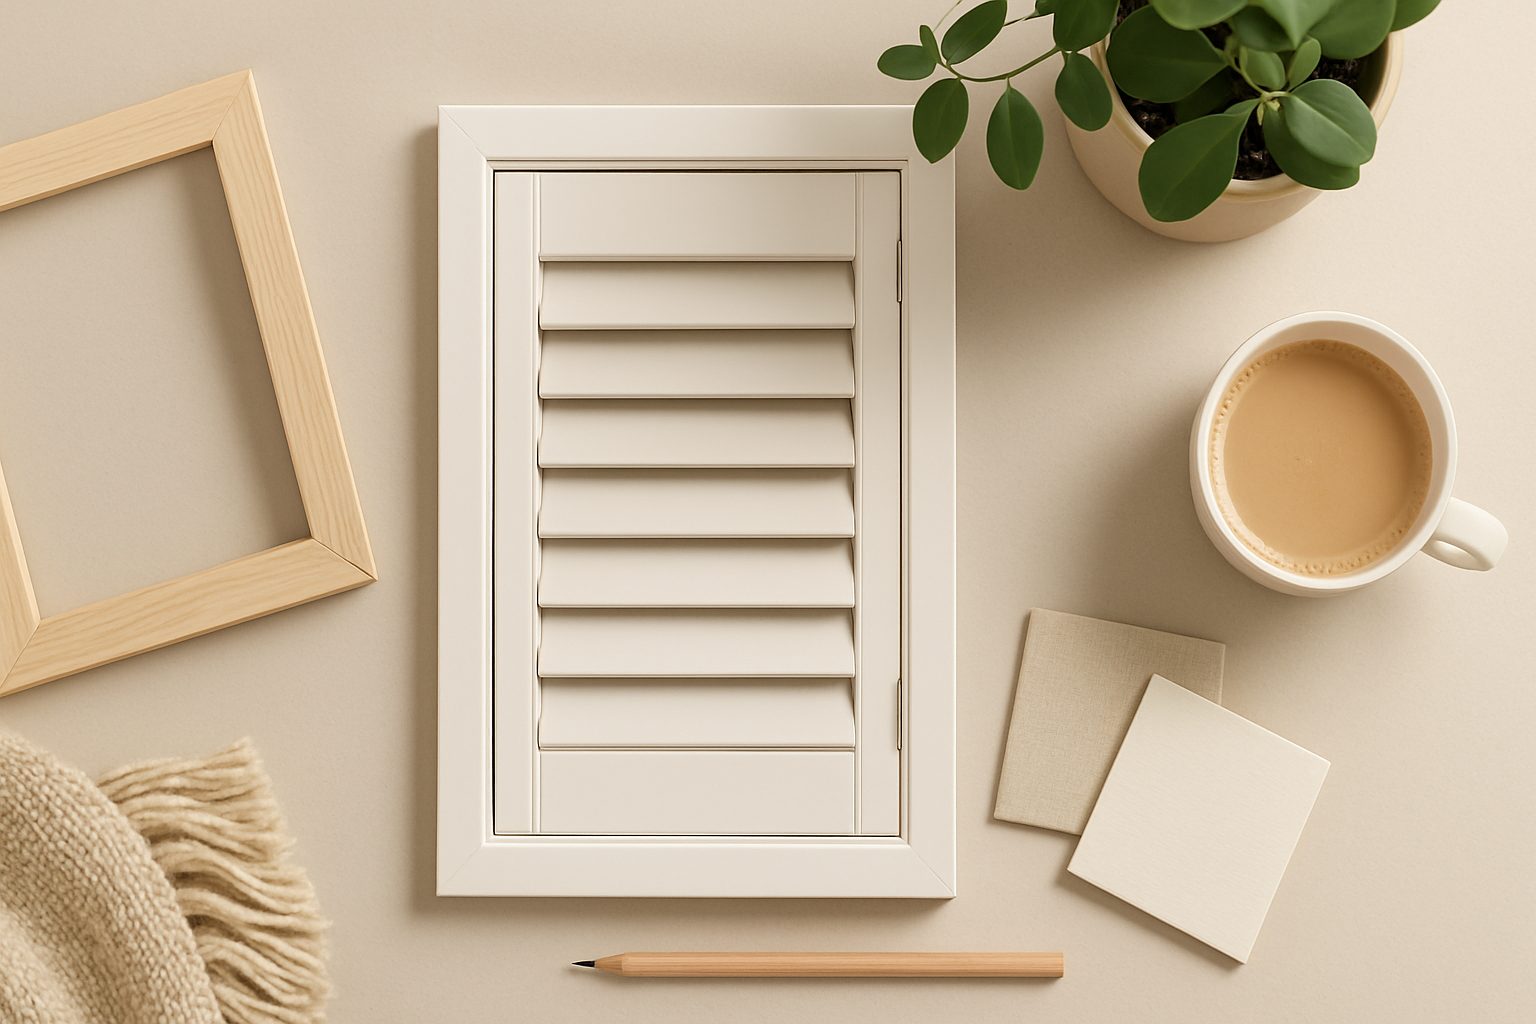
How to Install DIY Window Shutters UK: Complete Installation Guide
Installing window shutters yourself is entirely achievable if you follow the right approach. The key difference between a professional finish and a disappointing result usually comes down to proper measurement, correct fitting method, and taking your time. This guide walks you through both face-fit and recess-fit installations so you can decide which suits your windows.
Understanding Face-Fit vs Recess-Fit
Face-fit shutters mount directly onto the wall surface around your window frame. This is the easier option for most DIYers and works with any window type, including sash and bay windows. You'll gain a slight depth to your shutters but won't need to modify anything structural.
Recess-fit shutters sit inside the window reveal itself. This creates a neater, more integrated look but requires your reveal to be deep enough (typically at least 100mm) and reasonably square. If your reveals are uneven or shallow, face-fit is more forgiving.
Face-fit is the better starting point for first-time installers. The measurements are simpler, and there's less risk of expensive mistakes.
Measuring Accurately
This step determines whether your shutters fit properly. Measure three times if needed.
For face-fit, measure the width of your window at the top, middle, and bottom. Use the largest measurement and add 10-15cm (split 5-7.5cm on each side for overlap). Measure the height from just above the window frame to just below it.
For recess-fit, measure the inside width and depth of the reveal at three heights, plus the reveal's depth. If measurements vary by more than 5mm, you've got an out-of-square reveal—recess-fit will be difficult.
Use a metal tape measure, not a fabric one. Mark measurements on paper with a sketch of your window, noting left side, centre, and right side separately. Asymmetrical reveals catch people out.
Tools You'll Actually Need
- Drill driver with battery capacity for at least 20-30 screws per window
- Spirit level (600mm is ideal; smaller ones don't catch longer-distance errors)
- Tape measure and pencil
- Drill bits for pilot holes (typically 3mm) and larger bits for clearance holes
- Panel pins or screws (usually 3.5mm or 4mm, depending on shutter weight)
- Masonry bits if drilling into stone; regular twist bits for wooden frames
- Sandpaper (120 grit) for smoothing any rough edges before installation
For wooden frames, standard twist bits work fine. For brick or stone, you'll need masonry bits to avoid cracking.
Installing Face-Fit Shutters
Step 1: Position the brackets
Hold your shutter against the wall and mark bracket positions with a pencil. For most shutters, this means marking 20-30cm from the top and bottom of the frame, plus one or two in the middle for larger panels. Make sure the shutter sits square—use your spirit level against the top of the panel.
For wooden frames, you can screw directly into the wood. For brick, you'll need wall plugs and appropriate masonry screws.
Step 2: Pilot holes
Drill pilot holes at each bracket position. This prevents the wood splitting and makes the screw insertion cleaner. A pilot hole should be slightly narrower than your screw diameter.
Step 3: Attach brackets
Screw the brackets firmly but don't overtighten—you can strip the holes or crack the frame. Once fitted, check the shutter opens and closes smoothly. It should move without binding.
Step 4: Hang the shutters
Lift the shutter panel into the brackets and secure with the provided clips or pins. Some shutters use a sliding mechanism; others use dowels that drop into place.
Installing Recess-Fit Shutters
Recess-fit requires slightly more precision because the panel must operate smoothly within fixed sides.
Step 1: Check the reveal
Before ordering, confirm your reveal is at least 100mm deep and measure the depth at top, middle, and bottom. Uneven reveals (more than 5mm variation) are problematic—you may end up trimming one edge, which weakens the reveal and looks rough.
Step 2: Position and level
Your shutter panel should sit centrally in the reveal with equal clearance on both sides (typically 2-3mm). Use shims or spacers to centre it. Check level from multiple angles.
Step 3: Secure the frame
The shutter frame attaches to the inside edges of the reveal with small angle brackets. Start with one screw per bracket to allow adjustment, then fully tighten once you've confirmed the frame is level and square.
Step 4: Test movement
Before final tightening, operate the shutter several times through its full range. It should move freely without catching. If it binds, the frame isn't quite square—loosen brackets and adjust.
Common Mistakes to Avoid
Skipping the spirit level. Even 2-3mm out of square becomes visibly wonky and can cause friction as the shutter operates.
Over-drilling. If you drill too many times in the same hole trying to get the screw to seat, you strip it out. Pilot holes, correct screw length, and steady insertion matter more than force.
Ignoring the reveal condition. If you force recess-fit shutters into a heavily out-of-square reveal, they'll bind and potentially warp over time. Face-fit is genuinely the better choice in that case.
Installing too tightly. Shutters need slight clearance to operate smoothly. If the panel binds at the sides, it won't open fully and you'll damage the hinges.
Finishing Touches
Once installed, run through the operation several times to make sure everything moves freely. If any edge catches, loosen the relevant bracket slightly and re-centre. Leave no gaps that would catch your fingers.
For wooden shutters, a light sand and wood stain or paint finish protects them and looks professional. For composite shutters, most need only a wipe with warm soapy water.
DIY installation saves you several hundred pounds compared to professional fitting, and if you measure carefully and work methodically, the results are entirely professional-looking. Most windows take 45 minutes to an hour per pair of shutters once you've gathered your tools.
More options
- MDF Plantation Shutter Panels – Amazon UK (Amazon UK)
- PVC Waterproof Shutter Panels – Amazon UK (Amazon UK)
- DIY Interior Shutter Kit – Amazon UK (Amazon UK)
- Venetian Blinds (Comparison Alternative) – Amazon UK (Amazon UK)
- Shutter Fitting & Measuring Tools Bundle – Amazon UK (Amazon UK)